Guitar Projects

Scalloping my strat

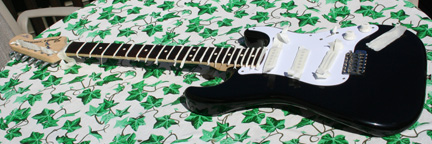
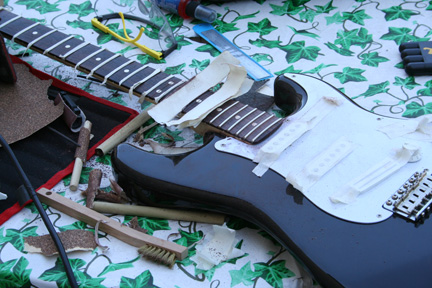
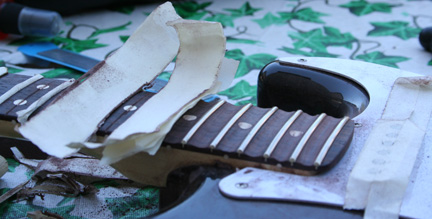
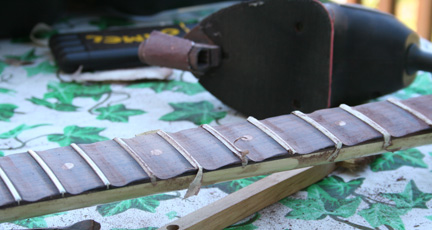
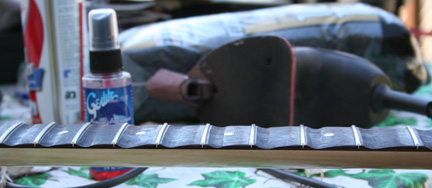
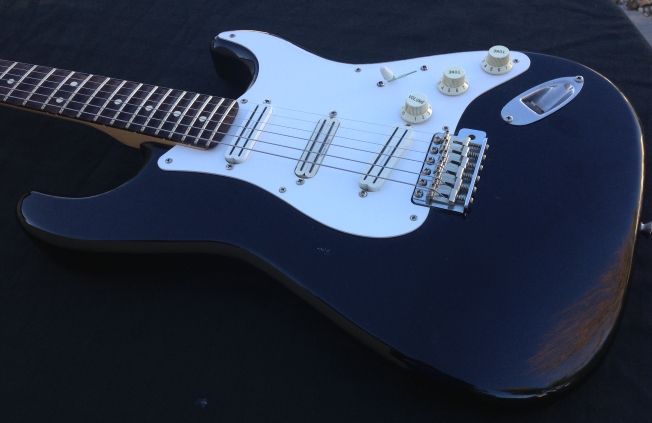
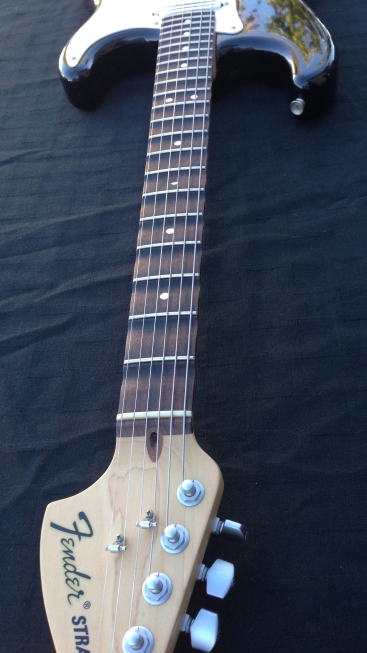
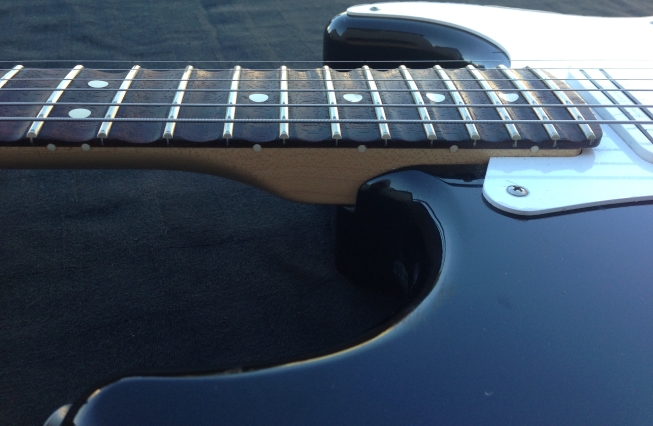
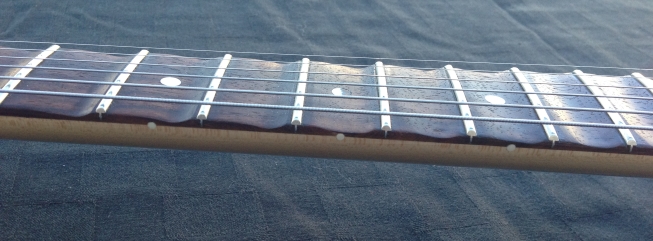
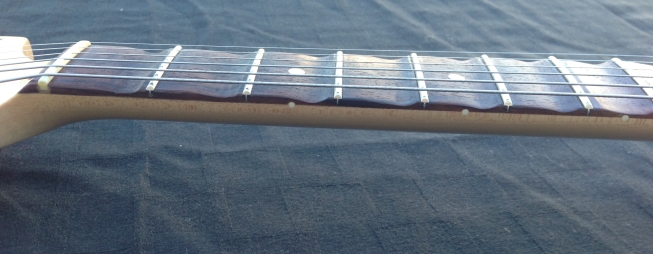
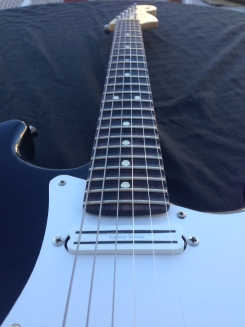
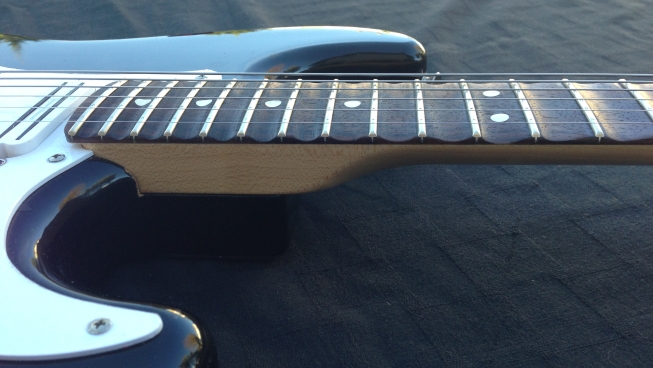
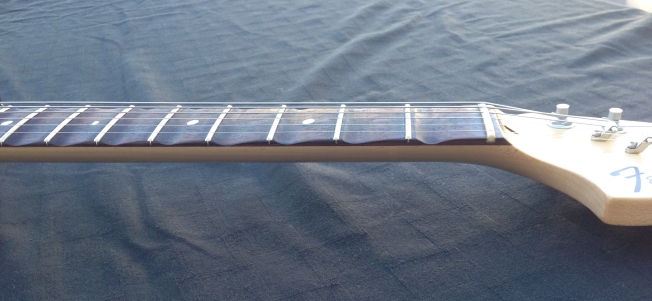
Being a huge Ritchie Blackmore fan, I decided to scallop my black Stratocaster. At first it seems like a daunting task, but if you that the time in preparation, and you take your time on the process, you can get incredible results.

Tools Used

  • Masking Tape
  • Duck/Duct Tape
  • 60 grit Sandpaper
  • 120 grit Sandpaper
  • 220 grit Sandpaper
  • 320 grit Sandpaper
  • 600 grit Sandpaper
  • 800 grit Sandpaper
  • 1200 grit Sandpaper
  • 3000 grit Sandpaper
  • 5000 grit Sandpaper
  • Dremel
  • Various sized dowels
  • Mouse Sander (with scoop attachment)

I started by taping all of the frets with 3 layers of masking tape. This is a very tedious process, but is well worth the work. I also taped the pickups, jack, and machine heads to minimize the sawdust cleanup on those items.

As an added layer of protection, I placed a couple of pieces of masking tape on the table, them covered them with duct tape. This would be used to add an extra layer of protection for the frets during the sanding.

I started at the 15th fret, and worked my way up. I placed 60 grit sandpaper around a dowel that was the correct size for the distance between the frets. I used a simple back and forth motion. I made sure to check the duct tape layer about every 20 seconds or so. If it had ANY hint of beginning to wear through, I added an extra layer.

Working VERY SLOWLY, I sanded out the wood until the scallop looked close to the necessary depth. Then I switched to 120 grit until I was sure I was very close to the correct depth. After that I went through the finer sandpapers until I finished the initial round of 800 grit sanding.

I decided to go with a graduated scallop on the lower frets. On the larger fret widths, I used a dremel to create a cavity, then used the mouse sander (with attachment) to create the deep scallop. Then I used sandpaper to create the graduated scallop. Since I was using power tools at this point, I CONTANTLY looked at the tape to make sure everything was fine. Any, and I mean ANY, imperfection on the tape, and it got another layer. I worked too hard to screw the whole project up now.

After the bulk of the wood was removed, it was time to sand all wood areas with fine and ultra fine sandpaper. As you get finer and finer, the wood will actually shine, like it's being polished.

After all of the wood was removed, it was time to finish shaping the scallops. Once again, this was a tedious process, and needed to be done slowly and carefully. But after the shaping was finished, a simple cleanup, restringing and the guitar was ready to be played.